Gas Detectors Calibration & Testing
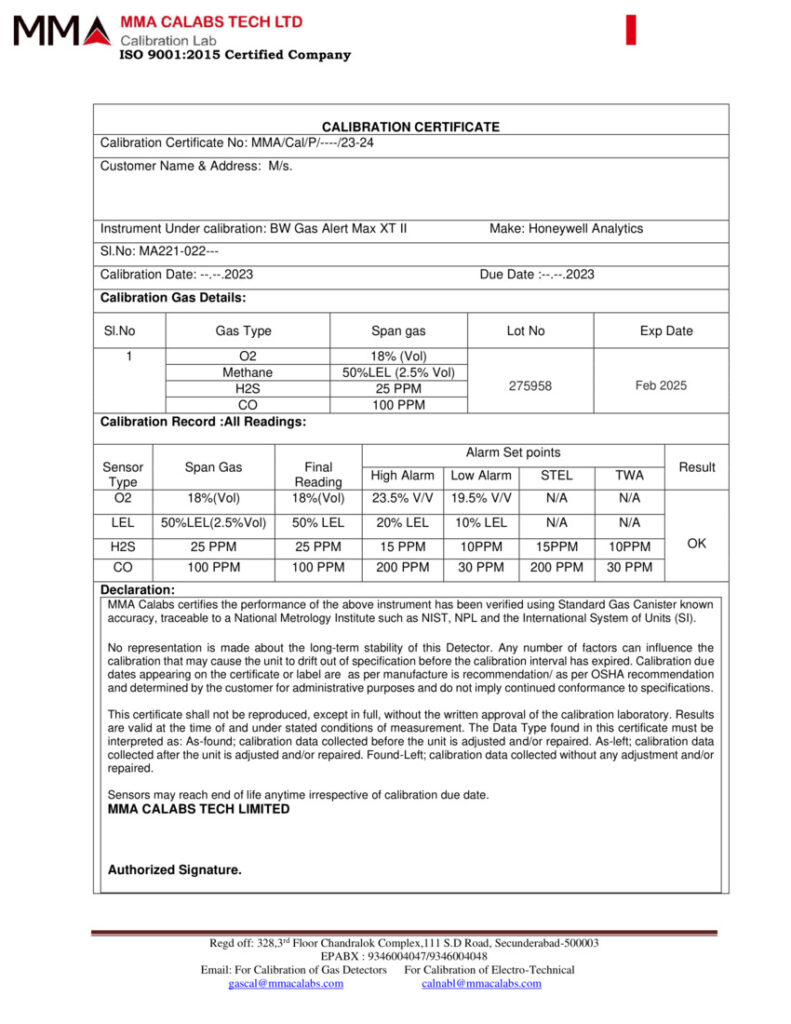
MMA Calibration Lab is an ISO 9001: 2015 certified calibration lab for providing services for calibration of all types and makes of fixed & portable gas detectors.
Gas detector calibration refers to an instrument’s measuring accuracy relative to a known traceable concentration of test gas. The detector compares the sensor’s response to a known concentration of test gas. To confirm the accuracy of the response, it’s crucial to use calibration gas that has not expired.
The primary reason for gas detector calibration is to ensure worker safety. Proper calibration ensures that the detector will respond and alert workers to hazardous conditions.
Many workplaces have combustible and toxic gases. Employees at these facilities have a higher risk of illness, injury, or death.
The OSHA guidelines are not formal regulations. However, they can serve to ensure proper calibration of gas detectors to maintain workplace safety.
Looking For Calibration Services Of Gas Detectors
Our Calibration Equipment
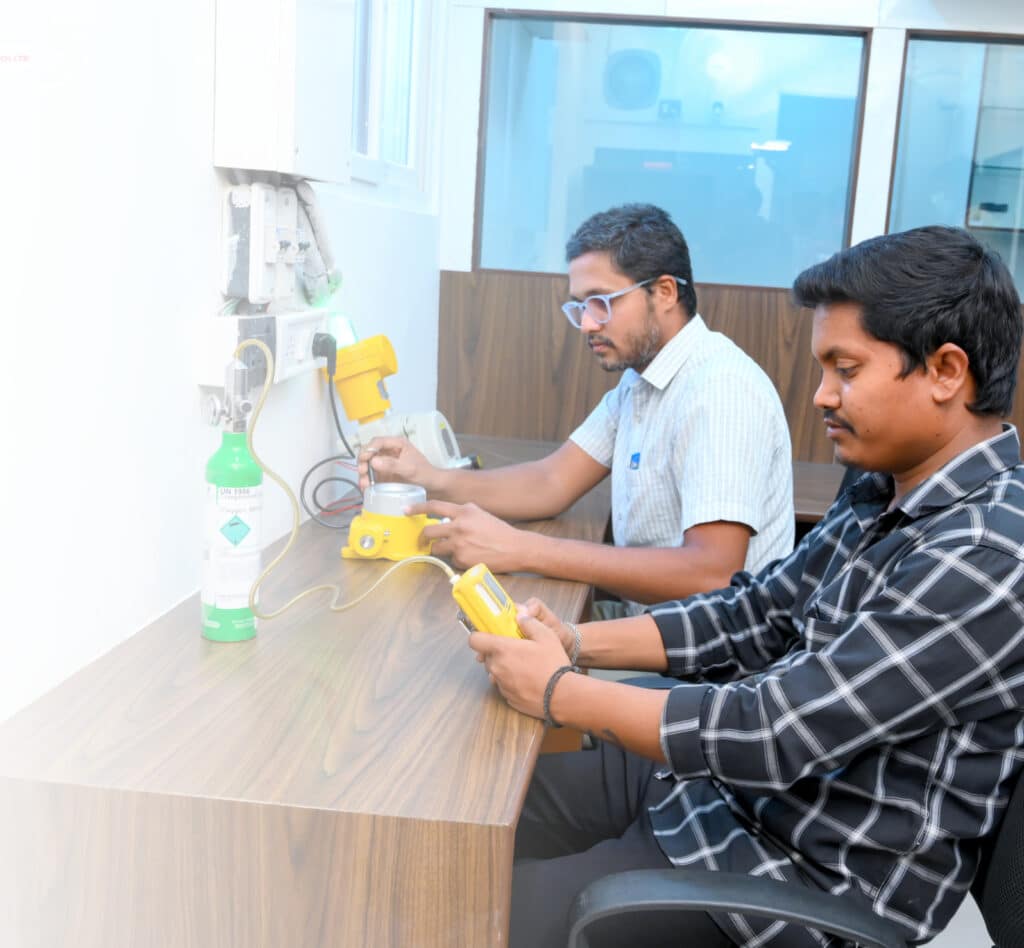
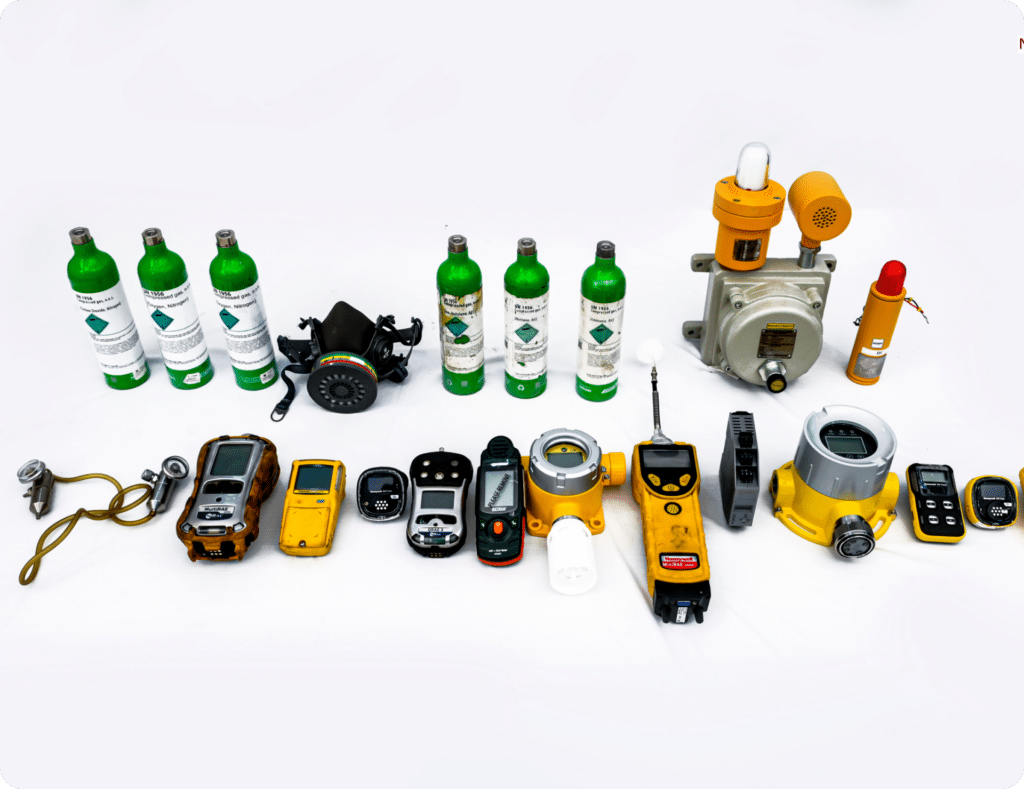
All our gases and equipment are NIST traceable.Have you ever wondered who ensured 1 pound is exactly 1 pound? and 1 meter is precisely 1 meter? The NIST is the answer. This is the governing board that will hold the standard of measurement.
Every gas measurement calibration standard must be directly traceable to the NIST to ensure your sensor's calibration is accurate.When you are reviewing your calibration certificate it must be clearly stated that the calibration standard used to calibrate your sensor is NIST traceable.If necessary, you can, and should request the proper documentation to validate that traceability.
The NIST has set-up specific protocols for the manufacturer of calibration gases to follow to ensure your calibration gas can be provided with NIST traceability.
Field Calibration
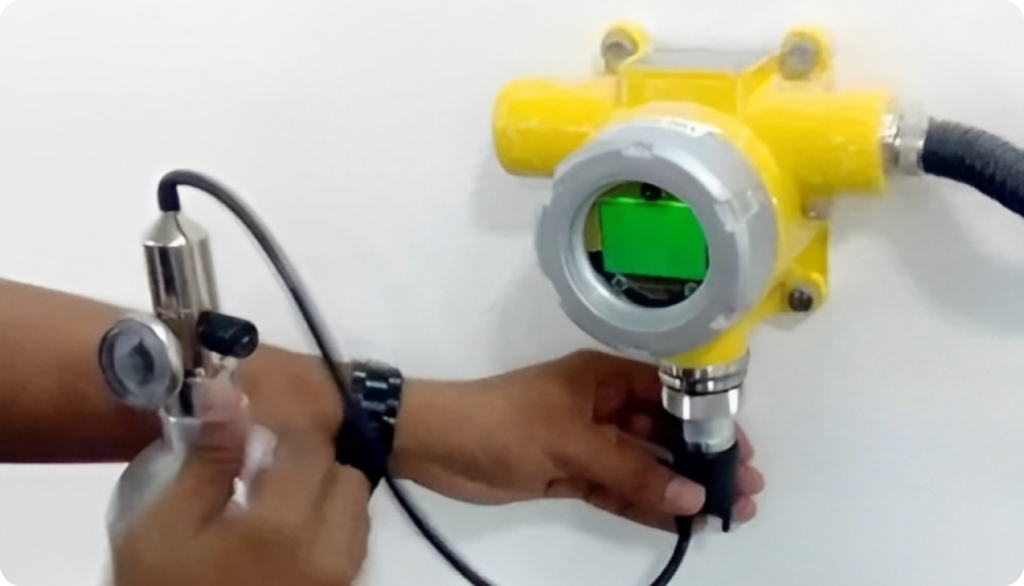
Field calibration is just what it indicates. Any calibration of a sensor performed in the field, or where the sensor is currently installed. This can be performed with calibration gases, or with devices designed to produce gases that will react properly to ensure calibration is accurate on your sensor.
Field calibration is convenient for applications where many sensors are installed and would be challenging or inconvenient to send away for calibration. Field calibration of your sensors can be performed by MMA Calibration Lab
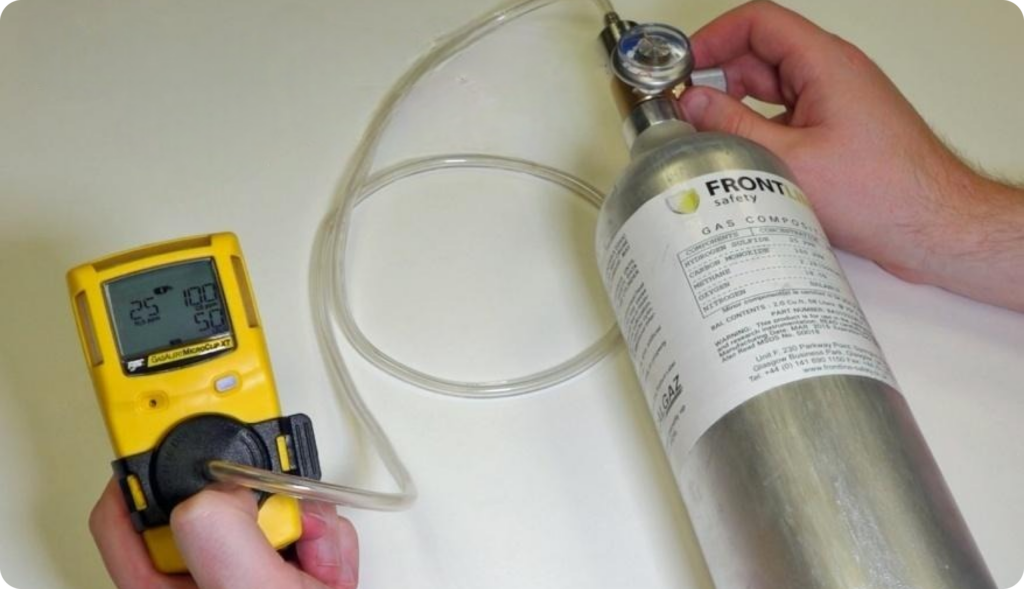
Bump Testing
When you want to know if your sensor is responding a bump test is a great option. This is simply a test that exposes the sensor to the specific gas it is intended to measure and ensure that the sensor does indeed respond. While not a precise process, this does ensure that the sensor is indeed responding and can respond in a critical situation where human safety is critical.
This auto-test generator will produce a gas that causes the proper sensor to react. A test is run on a pre-set schedule, if the gas sensor does not respond as expected an alarm will come on indicating the sensor has failed. This is a great option for gas sensing for critical applications.
Note: A bump-test is not an acceptable replacement for sensor calibration
Since sensors work with chemical and physical changes in materials, it is logical that they are subject to ageing and gradually lose their sensitivity to gas. This is the reason for recalibrations. Over time, each sensor measures a little differently, so it is necessary to compare measured values.
Frequency of calibration will be depending upon the sensor type, and purpose of the gas sensor. Manufacturer and safety recommendation would be to perform a bump-test of the sensor at least monthly. Perform a field or factory calibration or sensor check every 6-months.
When a gas detector’s reference point slowly changes, it is called calibration drift. This drift occurs to all sensors over time and leads to unreliable readings. Sensors that have experienced drift can usually still measure the quantity of gas present. However, they cannot convert the information into an accurate reading. Calibration checks with traceable gas concentrations will verify or update the device’s reference point. These checks should be completed often – daily in some instances.
Operators of gas detectors should also be aware of common causes of calibration drift to minimize potential drift. These include:
- Degradation due to phosphate exposure
- Degradation of phosphorus- or lead-containing components
- Expected, gradual chemical degradation of sensors
- Use of the detector in extreme environmental conditions. This includes extreme temperatures or humidity and high concentrations of certain airborne particulates
- Exposure to high concentrations of target gases and vapours
- Exposure of catalytic hot-bead LEL sensors to silicones, hydride gases, halogenated hydrocarbons, and sulphide gases
- Exposure of electrochemical toxic gas sensors to solvent vapours or corrosive gases
- Exposure to high amounts of vibration or shock that may affect electronic components and circuitry
The detector’s operability should be verified when it has been exposed to any of these conditions. It should also be verified if exposure is suspected. It’s also crucial to keep in mind that even though a gas detector sensor may appear unharmed, it could have damage that is not visible.
There are a few basic rules when it comes to gas detector calibration, such as:
- Follow the manufacturer’s guidelines.
- Use the correct tools for the job.
- Calibrate in environmental conditions that mimic the workplace.
- Only used a non-expired certified traceable test gas.
The test gas supplier should be able to provide a certificate of analysis for every test gas cylinder. Since the concentration of test gases does not stay stable forever, it is crucial not to use test gases that have passed their expiration date.
Conduct a bump test, also called a function check, to confirm the detector’s alarms are functional. This test does not measure the device’s accuracy, but it should verify the alarm is working.

